The next thing we did was to prep the car. The main purpose was to fix the roof. We sanded off the
loose clear coat and paint. Next we sprayed a coat of etching primer and then a few coats of green rust
paint. Finally was a few coats of acrylic top coat. It actually looked pretty good. If we had not already
ordered the vinyl, we might have stopped here. We then sanded the hood. There were a few stone chips that
had penetrated to the bare metal. We cleaned those out with the Dremel. We also primed and rust painted the hood.
Now to wait for the wrap.

Luckily the shipping from Hong Kong was quite quick. The first piece we wrapped was the hood. It turned out
to be harder than the YouTube videos made it look. To start the car had to be cleaned. Barb took it to the car
wash before we started. As we wrapped each panel, it was cleaned with a degreaser/wax remover and then again with
isopropyl alcohol. The difficultly was that we were trying to place a flat sheet on to a surface that curved in two
dimensions. After much fiddling (and a little cursing) we got it looking pretty good.

 Because wrapping a entire car wasn't enough work, we decided to modify the interior as well. We took out as many
of the interior bits as we could and slammed them through the dishwasher. The Echo, being a cheap econobox, had an all
medium grey interior. That would not do. The centre console we decided to wrap in fake carbon fibre.
 It ended up
being aluminum paint on the bottom and in the cupholders, with the carbon fibre only on the top. For the rest of
the interior we decided to do the lower console and door accents in green. To dismantle the entire dashboard would
have been a HUGE amount of work and would have made the car undrivable for a quite awhile. Instead we masked off
the interior with masking tape, newsprint and garbage backs. One coat of primer and four coats of paint later,
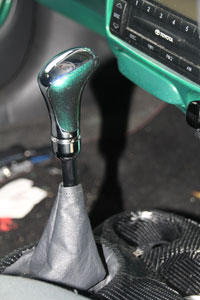
the two tone green interior was revealed. As luck would have
it, we happened upon a green and purple gear
shift knob at Autobarn. The door window cranks are also wrapped in carbon fibre. (See the unveiling here)
Up next was the roof. We cut the 1.5m x 2m section and started laying it down. It turns out the top coat of paint
ended up being a big mistake. It turns out the paint had a greater affinity for the vinyl than it did for the car.
We were able to peel off big sheets of paint, much to our dismay. We had to remove all the epoxy paint from the roof.
We decided to leave the roof for later. (It was a good move for our marriage). Next came doors, and pillars,
and wings, and fenders, and bumpers...
This project took approximately forty hours spread over four weekends. That also meant Barb had to drive a partially wrapped car
back and forth to work. Sometimes it had three different finishes at once.
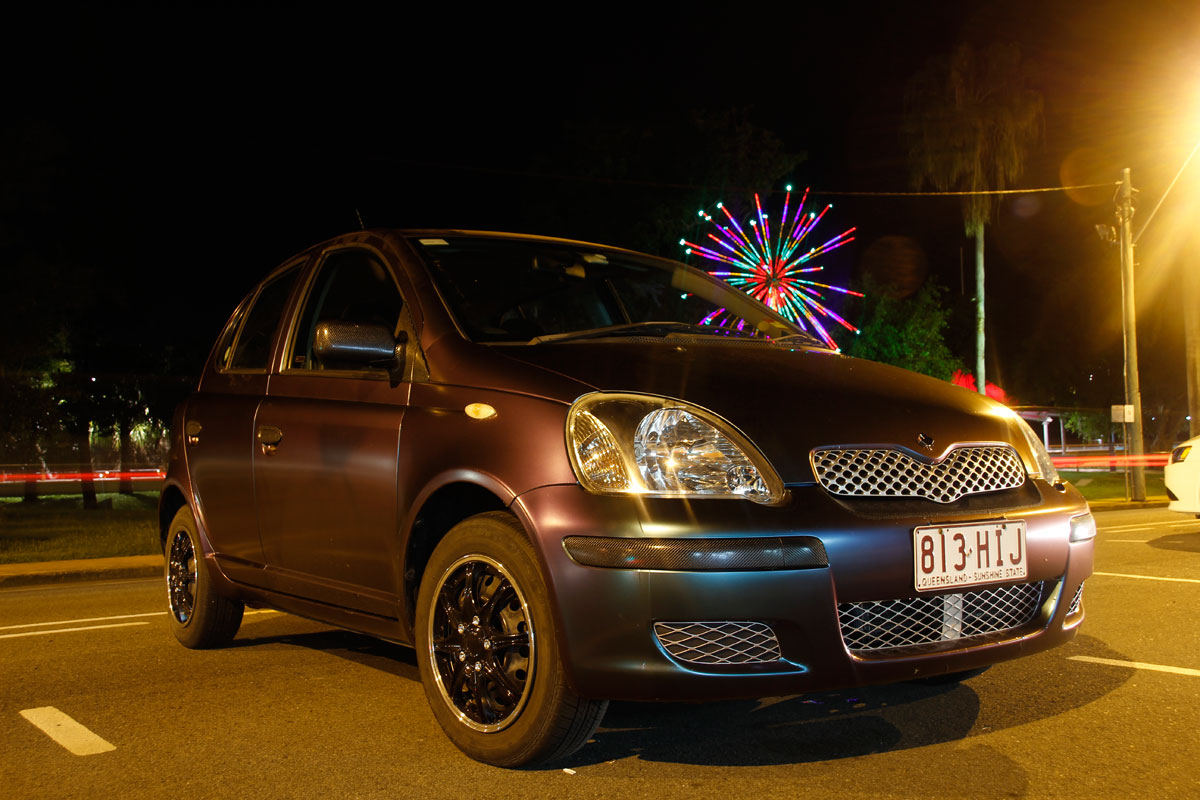
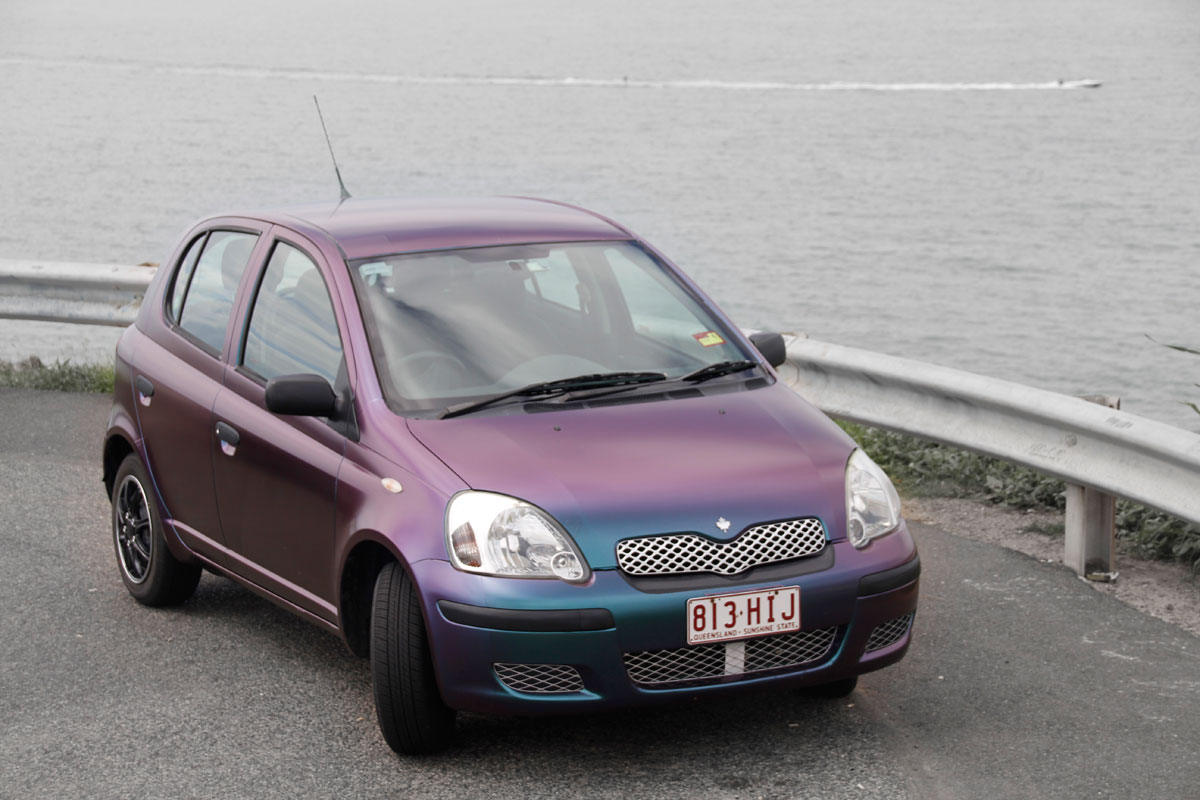
But an eyesore no more!!! One Saturday we finally finished ALL the exterior vinyl. You would think we
would be getting good at this, but the rear bumper had yet more lessons in store. It was probably the
hardest piece to do. We finished it by the headlights of my work van. It should have been triumphant, but
we were just relieved to be done. There are a couple of fiddly bits to finish. We put the name decals back
on Sunday. The rear door cranks have to be carbon fibred, but it is a complete car now and it looks like we
meant to do that to it.


